Getting Started
Welcome! This section will help you go from the first launch of Lantstool to successfully sending your first transaction on the NEAR Protocol blockchain.
We will learn step-by-step:
- Creating space — configuring your isolated workspace.
- Configuring networks — connecting to required network (mainnet, testnet).
- Importing accounts and keys — importing accounts and keys for signing transaction.
- Sending funds — sending funds using transfer action.
Initial Setup
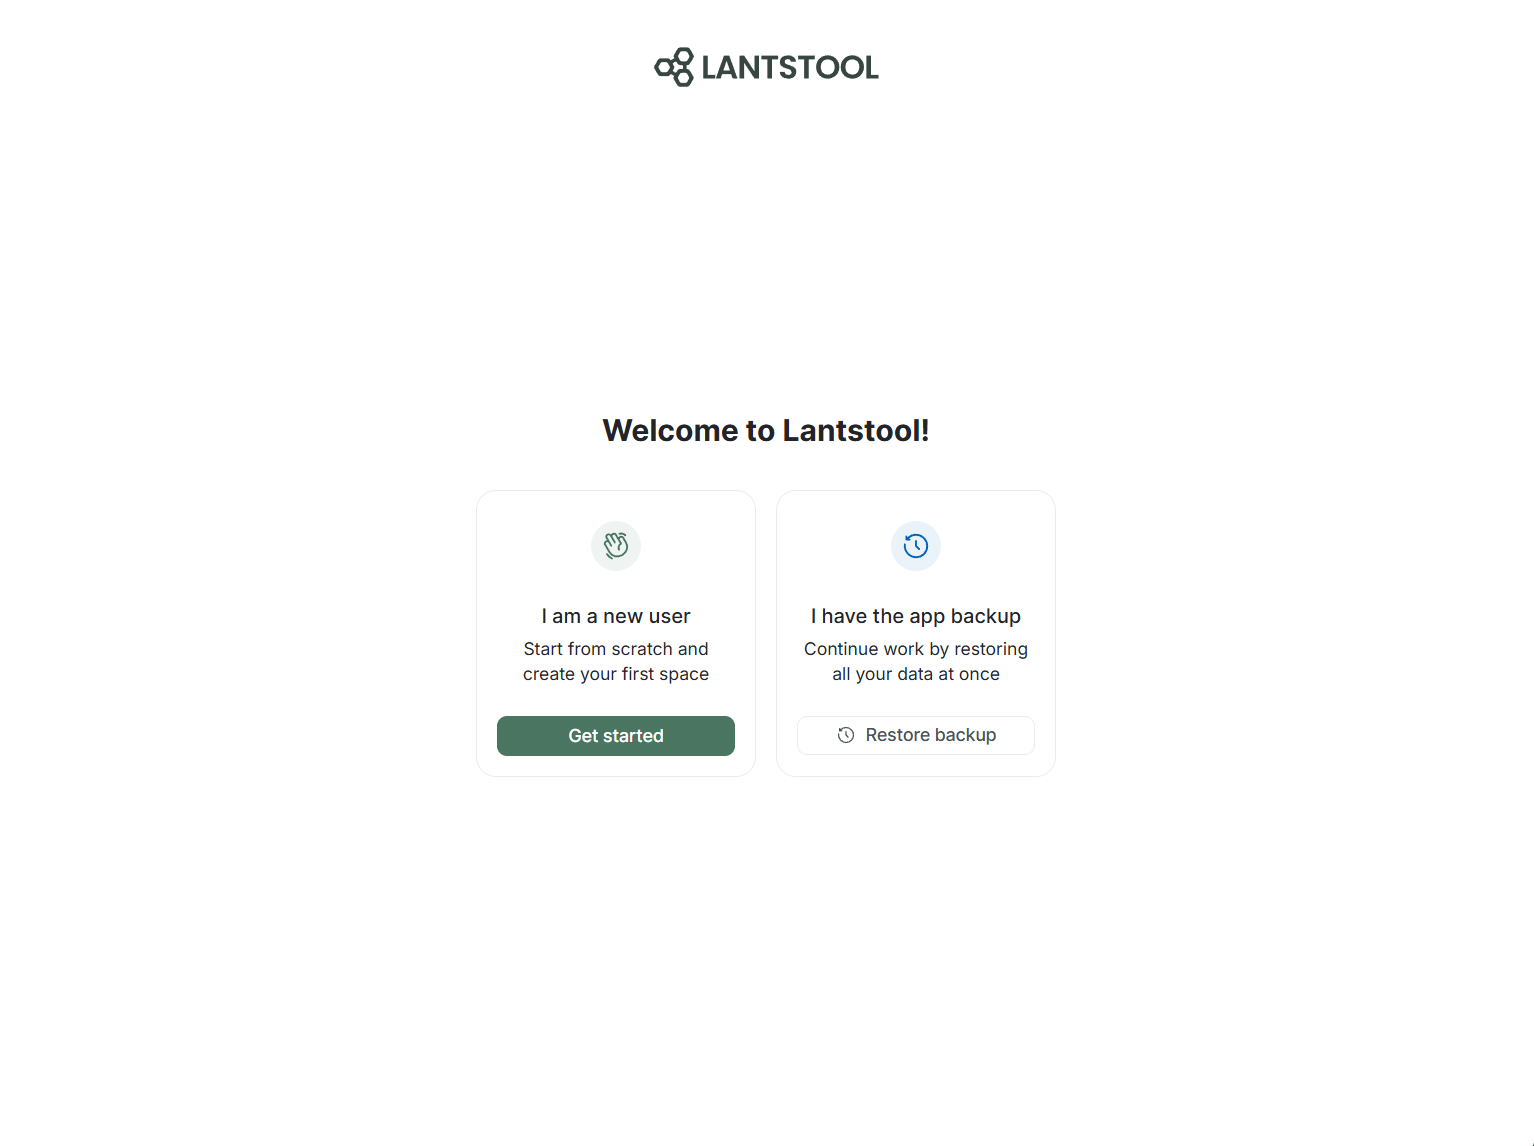
During first launch of Lantstool, welcome screen will be displayed. Click Get started button to proceed to creating your first Space.
If you have backup file, go to settings section for restoration
Creating Space
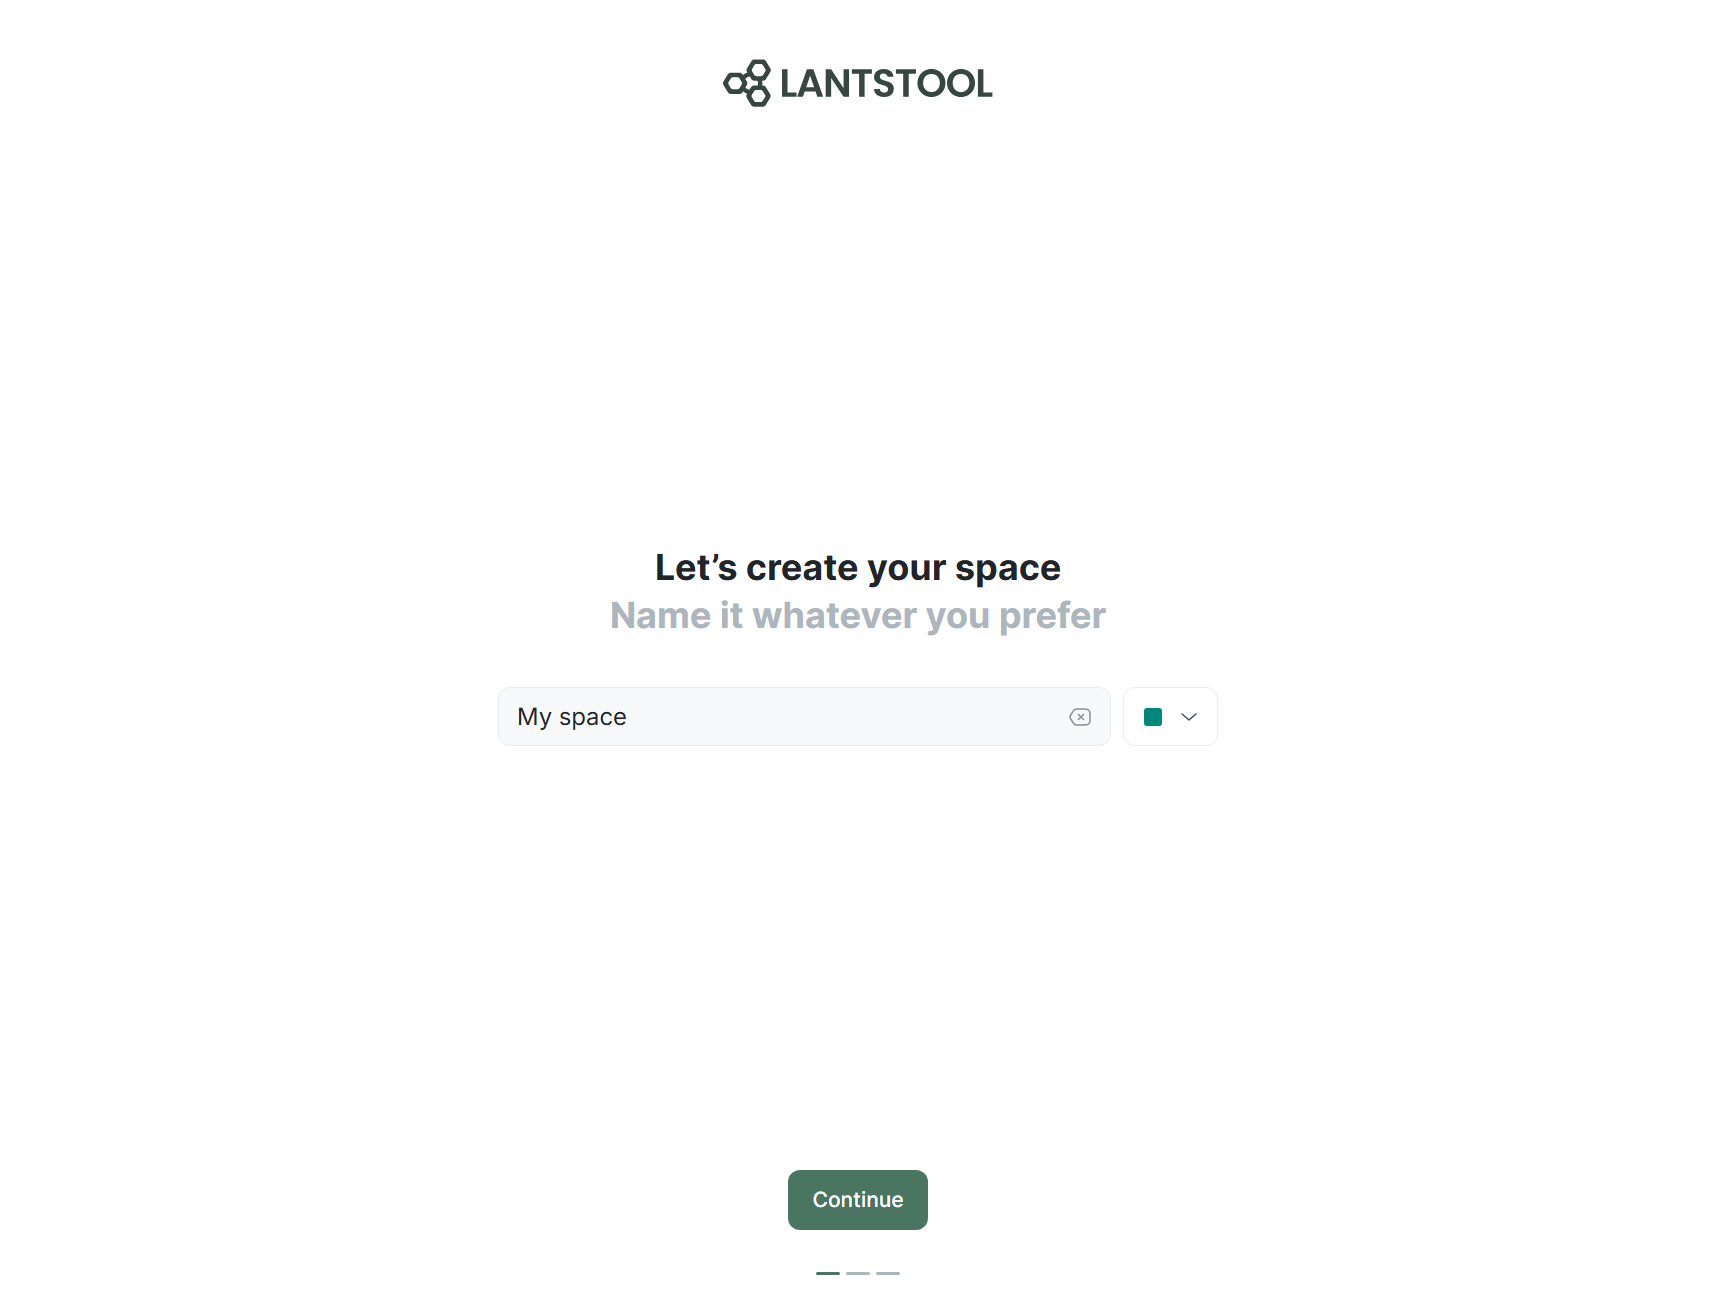
In first step, you need to enter desired name for your workspace. Changing name is available later in space settings.
Selecting blockchain
Second step — selecting blockchain, currently only NEAR Protocol is available and selected by default. Click Continue to proceed to network configuration.

Adding network
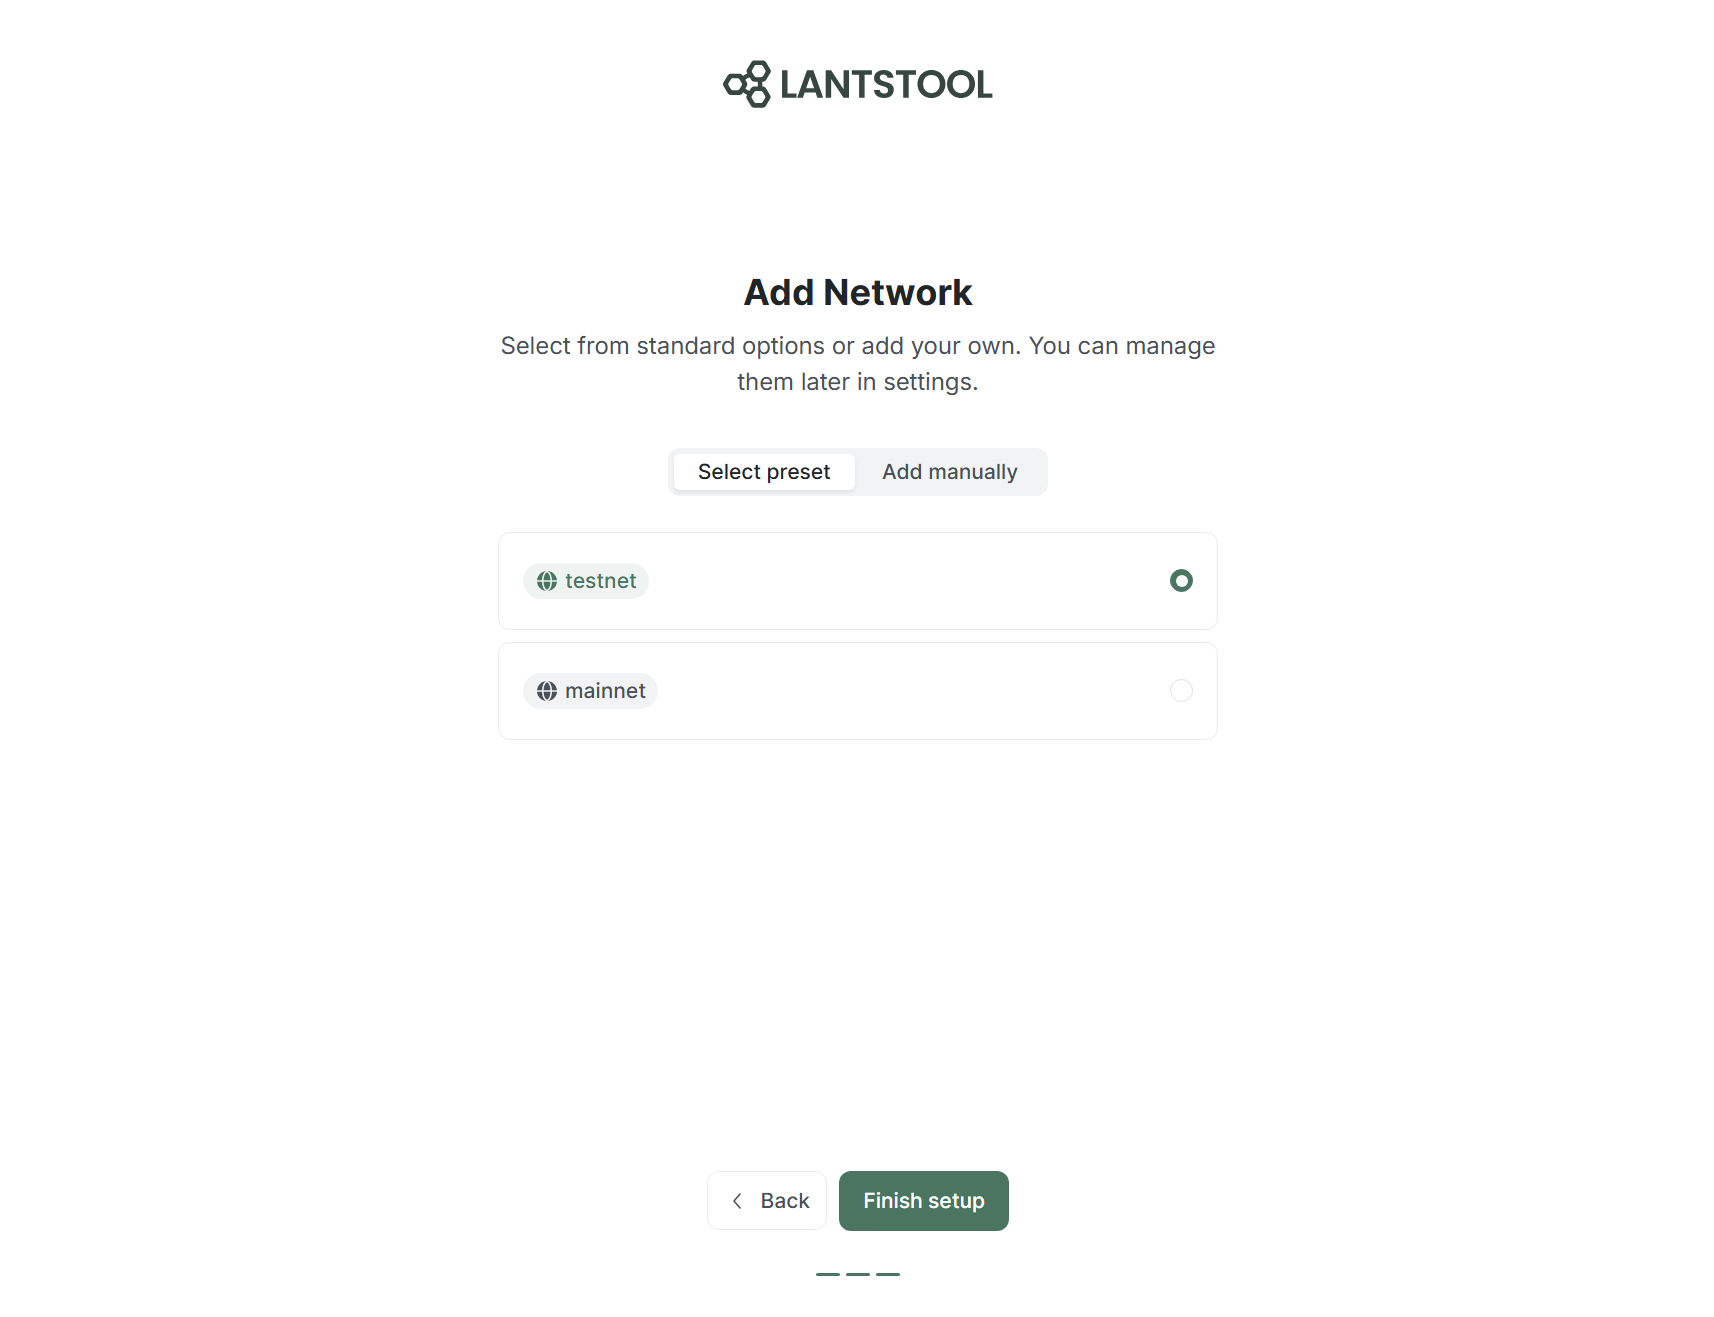
Adding network — final step of initial setup. Choose one of available network presets: testnet or mainnet.
For performing first transaction, we recommend using testnet preset.
More detailed information about manual configuration is available in networks section.
After selecting preset, click Finish setup button to complete setup and proceed to creating transaction.
Presets for testnet and mainnet contain list of verified RPC nodes with Balancer enabled. This function automatically distributes your requests among different RPCs, preventing errors due to exceeding limits (Rate Limits).
Importing account and key
Creating transaction
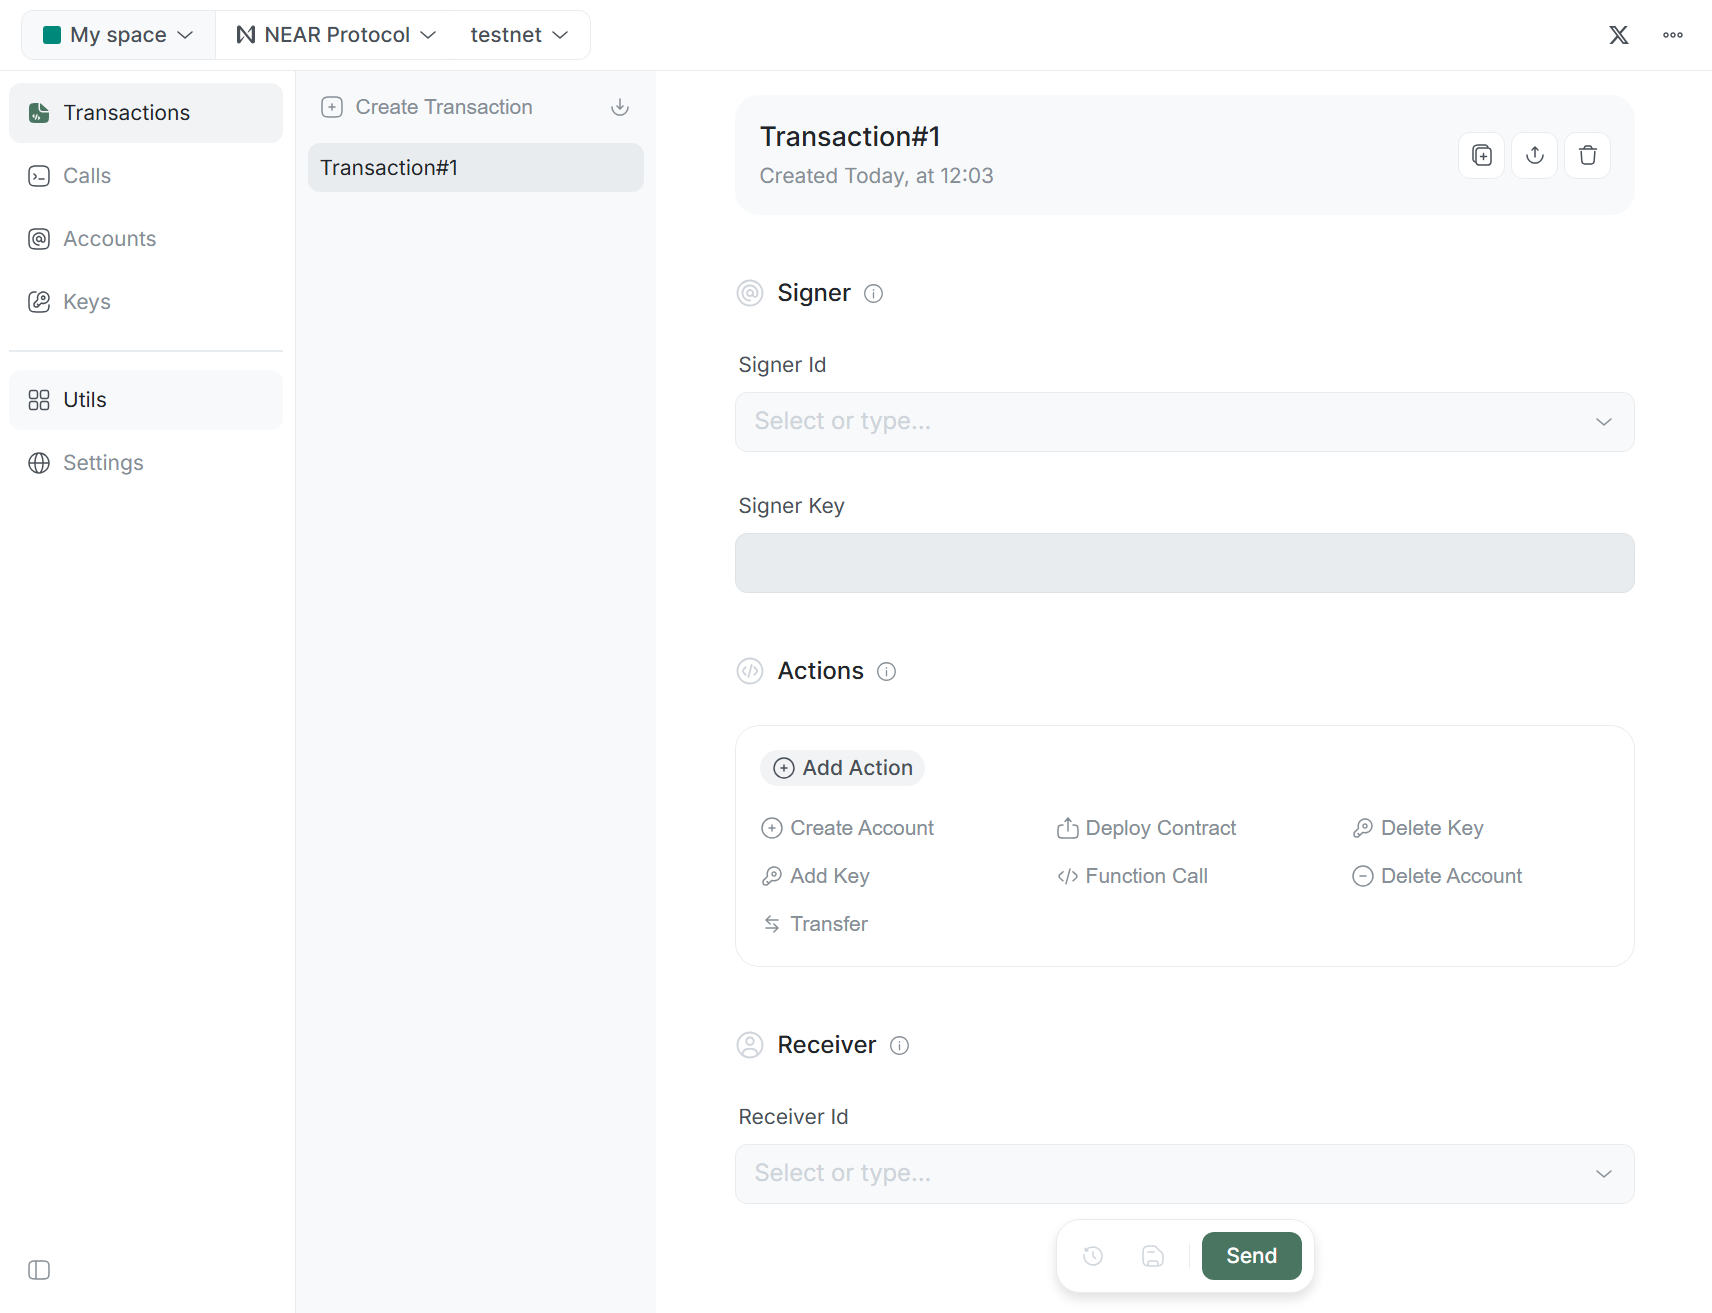
After completing initial setup, you land in Transactions section. Click Create Transaction to create new transaction for list. It will contain fields: Signer Id, Signer Key, Actions list, and Receiver Id.
Importing account
- Click on
Signer Idfield. - Select
Import accountoption in dropdown list. - In
Import accountmodal window, enterAccount ID(e.g.,alice.testnet) andNote(optional). - Click
Import. If Account exists in selected network, you will see its balance aboveSigner Idfield.
To send Transaction, active Signer Id and its corresponding private key — Signer Key — are required. If you don’t have account yet, register one using one of wallets in this list.
Importing key
- Click on
Signer Keyfield. - Select
Import keyoption in dropdown list. - Choose import method:
Seed phraseorPrivate Key. - Fill in fields and click
Import.
Sending first transaction
Now that you have imported Signer Id and Signer Key, we can add Transfer action and fill in other fields.
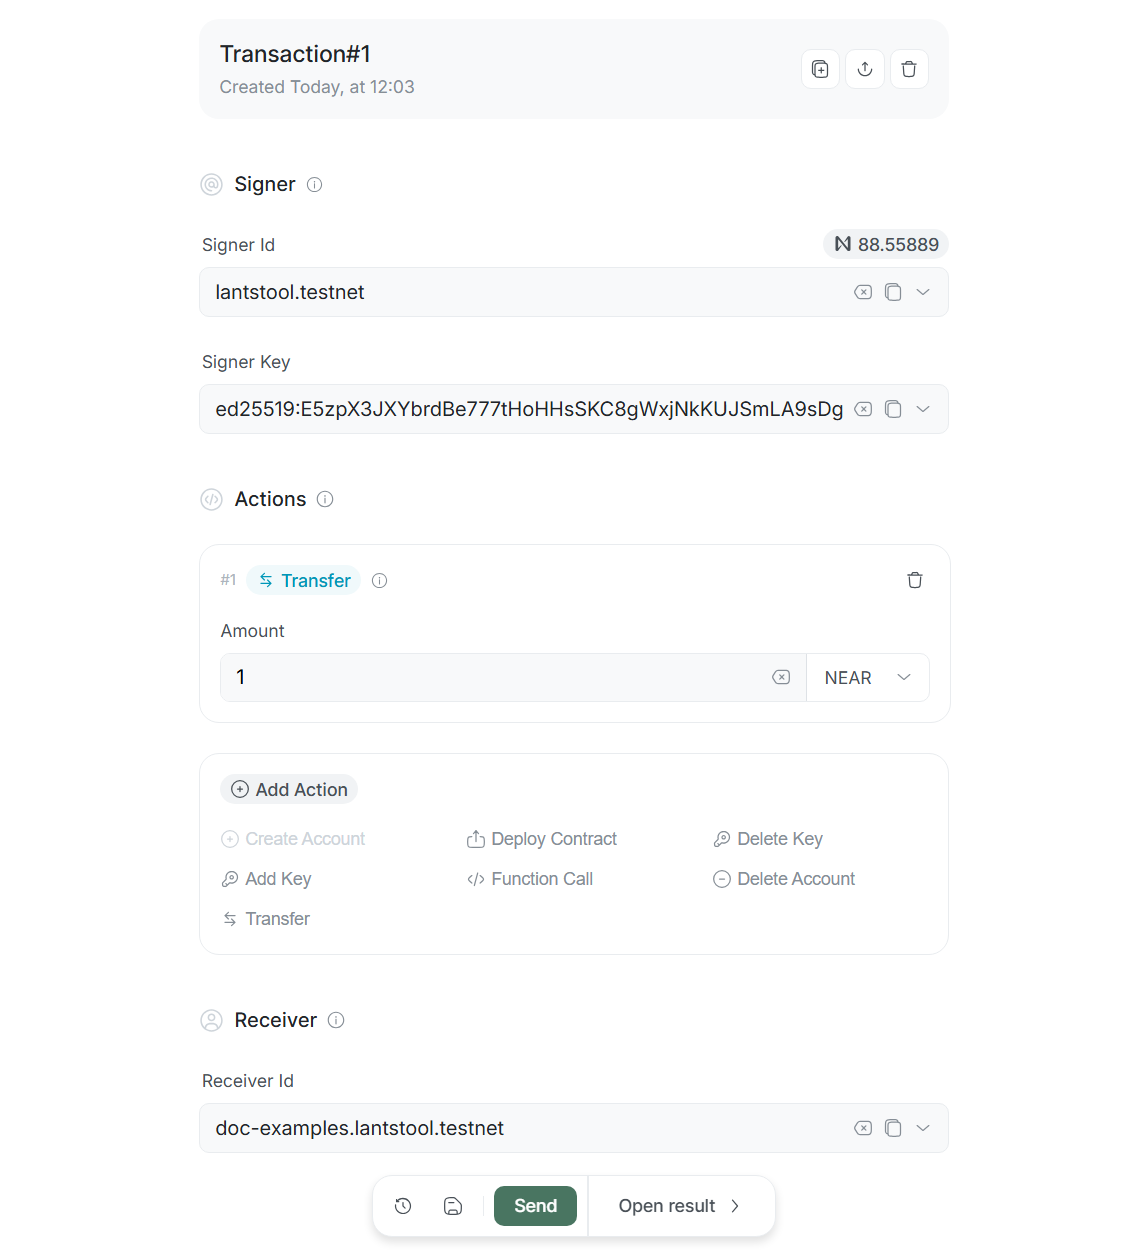
Adding action — Transfer
To add action in Actions block, click Transfer button. Corresponding block with fields will appear below.
Entering amount and units.
In Amount field, specify sum you plan to transfer. You can choose measurement unit: NEAR or yoctoNEAR.
To learn more about why NEAR and yoctoNEAR exist, watch video:
Why Are Crypto Numbers So Long? A Short History of Money
Receiver Id
In Receiver Id field, enter or select recipient account from list. All actions within current transaction will be directed to this account.
Send transaction
At bottom of action panel, there is Send button; click it to send transaction.
Result
After sending transaction, you will be automatically redirected to result page:
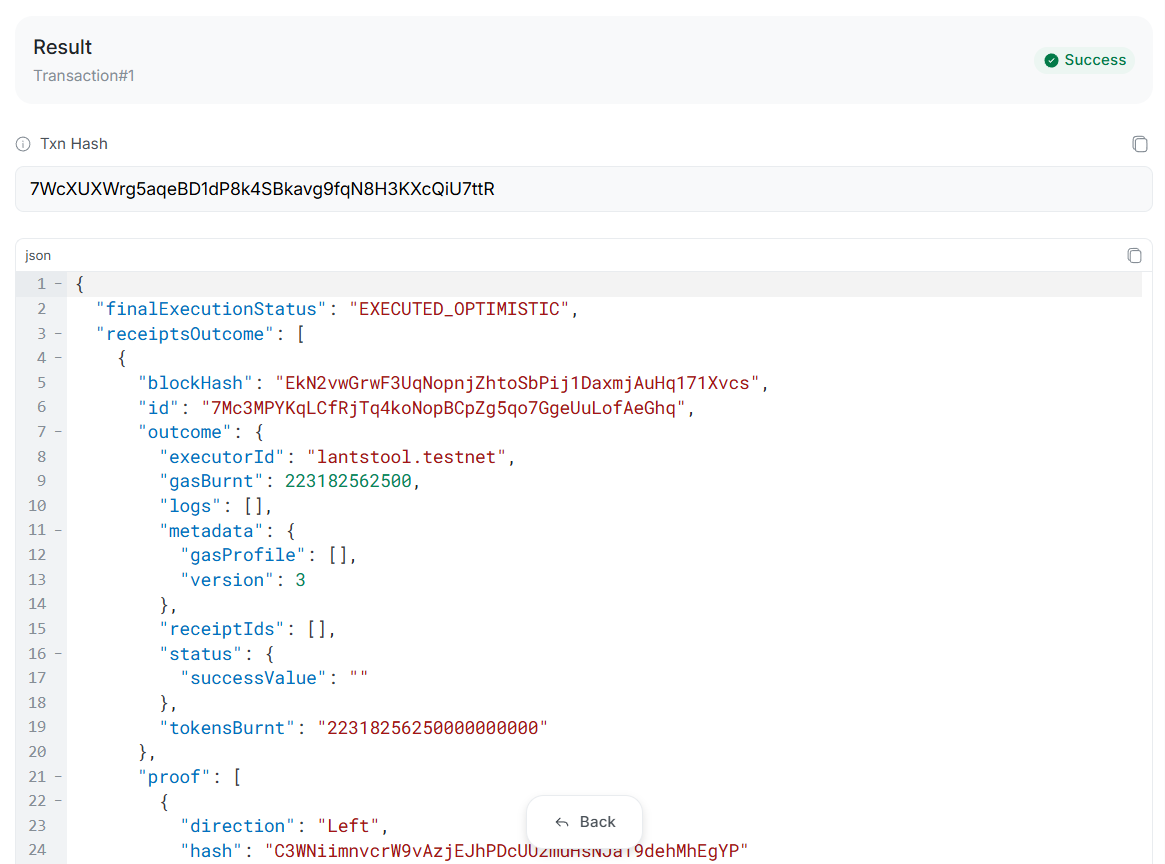
On this page, transaction status Success, Txn Hash, and full blockchain response in JSON format are displayed.
Congratulations, you have sent your first transaction in Lantstool!
➡️ What’s next?
- Networks: Detailed information about RPC nodes management.
- Transactions: How to create complex multi-action Transactions.
- Calls: Detailed description of Call methods.
- Utils: Overview of useful utilities.