Transactions
Transactions section — list of transactions you added in the current network. Sidebar provides ability to add, import, and sort (drag-and-drop) transactions.
Each transaction presented as form-constructor with control and action panels for flexible management and easy configuration.
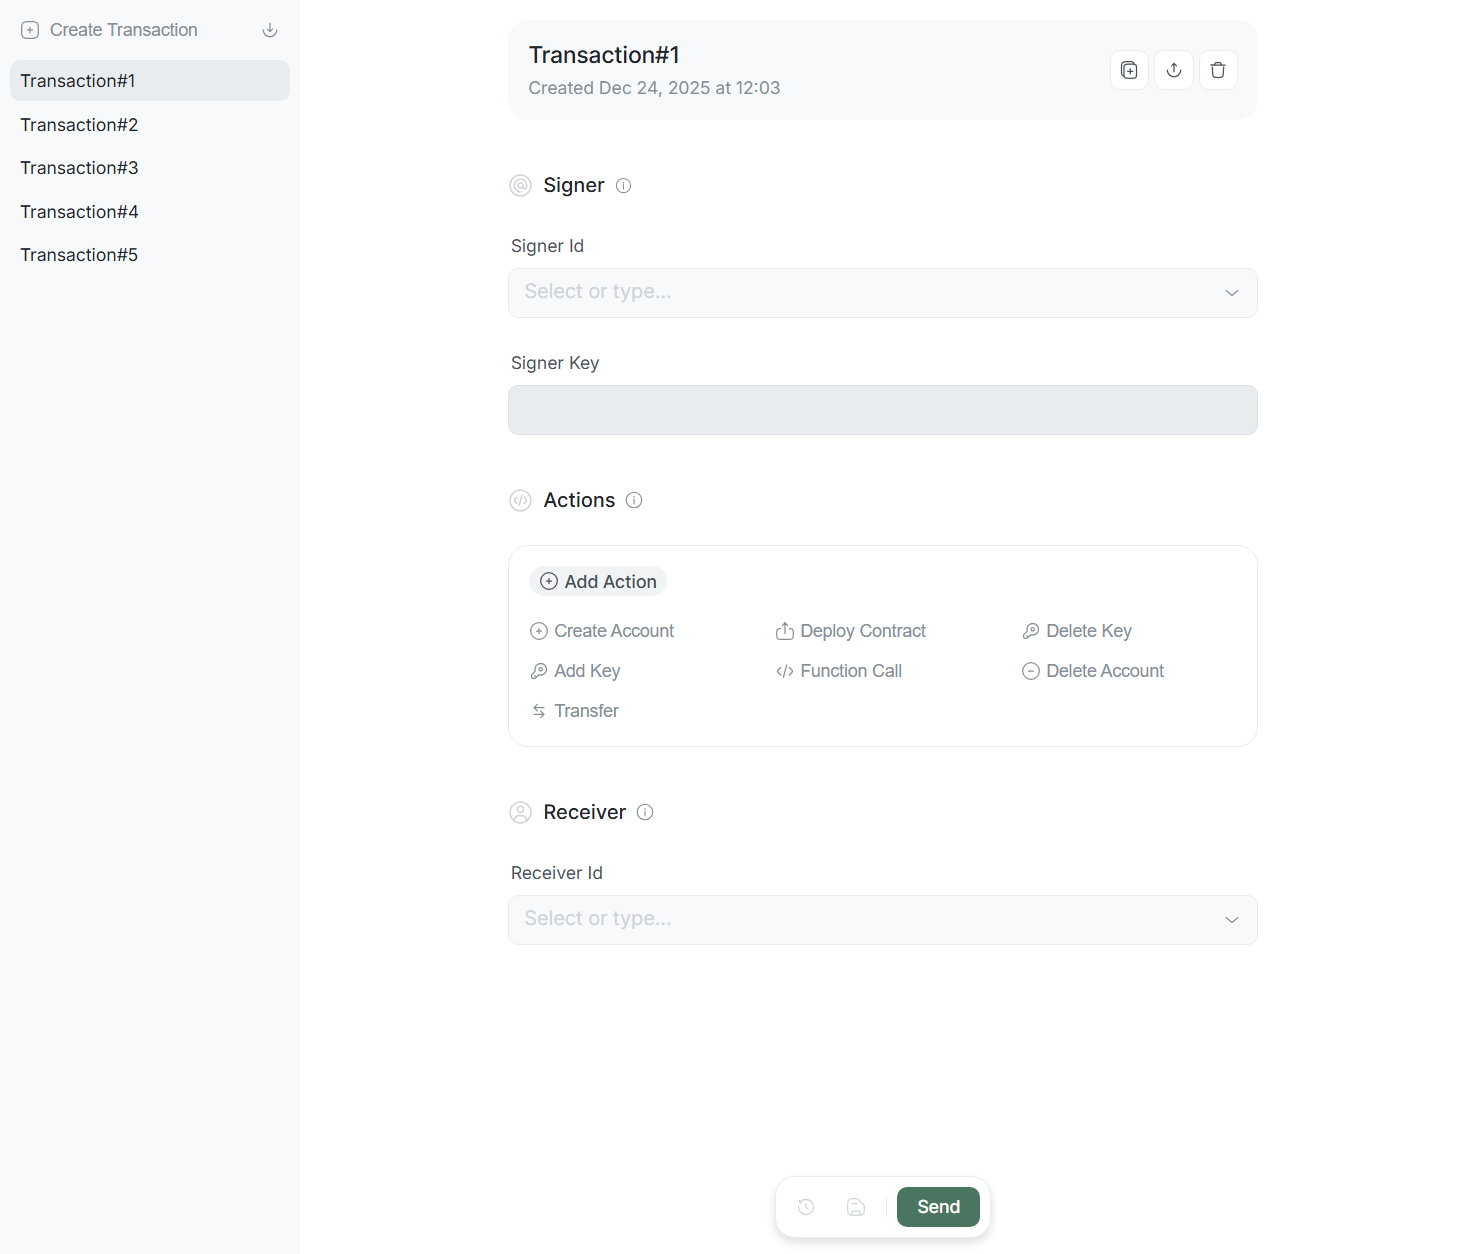
Transaction — set of actions signed with Signer Key and sent to network to change blockchain state. Each transaction based on three main components:
- Signer: Contains sender account Signer Id paying commission (Gas) and corresponding Signer Key for transaction signing.
- Actions: List of sequential atomic actions performed on Receiver Id.
- Receiver Id: Account to which transaction directed.
Creation and import
To start work, you must create transaction; two options available:
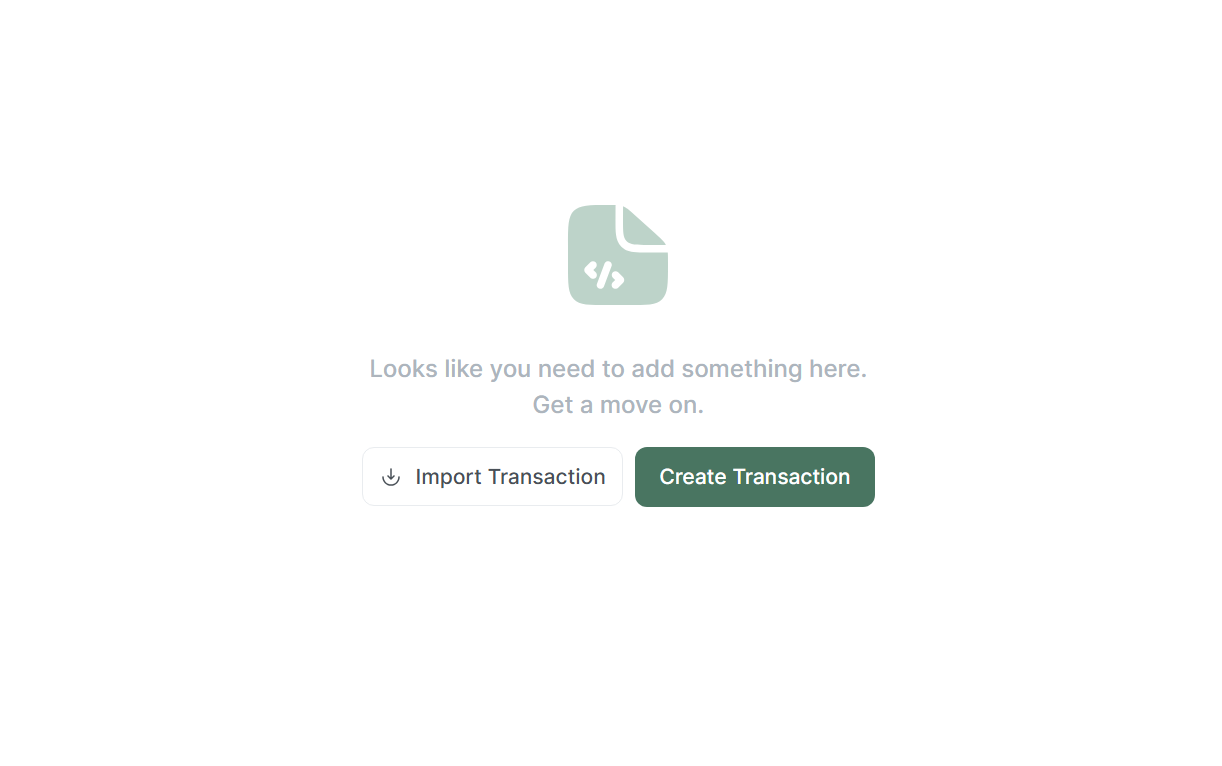
Create Transaction: Creates new transaction and adds it to list.Import Transaction: Allows loading ready transaction structure (by pasting JSON or uploading file via Upload File).
Interface adapts depending on data presence:
- If transaction list empty, Create and Import buttons displayed in center of screen.
- Once at least one transaction added, Create and Import buttons automatically move to top of sidebar (above transaction list).
Control panel
Each transaction has top control panel containing:

- Transaction name: Displays transaction name. To change name, click on it and enter new one.
- Duplicate: Creates full copy of current transaction with
copyprefix. - Export: Opens modal window with export options:
- Copy JSON: Copy code to clipboard.
- Download JSON / .zip: Download file to device.
- Delete: Deletes transaction from list.
Action panel
Action panel located at bottom of screen, containing:

- Revert changes: Cancels all unsaved changes, returning transaction to last saved state.
- Save changes: Saves state of transaction form.
- Send: Signs and sends transaction to network, automatically redirecting to Result page.
- Open result: Opens Result page (button active if transaction already sent).
Signer
Block contains Signer Id and Signer Key fields defining who sends transaction and which key signs it.
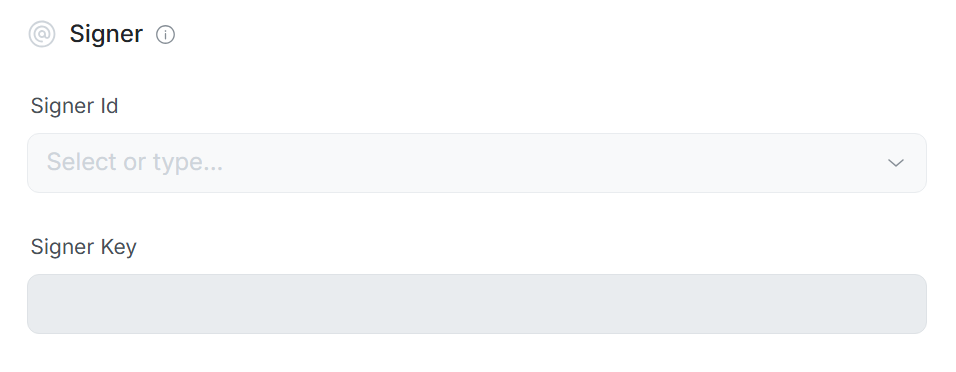
Signer Id
Sender account from whose name transaction created, signed, and sent.
Key features:
- This account pays all commission (Gas) costs for operation execution in network.
- Dropdown list displays only accounts added in current network (mainnet, testnet, or localnet).
In Signer Id field, you can choose existing account or import new one. To import new account:
- Open dropdown menu in Signer Id field.
- Click
Import accountbutton. - In modal window enter:
- Account Id: Account identifier in blockchain (e.g.,
alice.testnet). - Note: Short note for convenience (optional).
- Account Id: Account identifier in blockchain (e.g.,
Once account selected, Lantstool automatically requests blockchain and displays current balance directly above input field. This helps verify sufficient funds for commission (Gas) payment.
Signer Key
Signer Key — field for selecting public and private key pair used for transaction signing. According to NEAR Protocol architecture, public key necessarily included in each transaction structure for network to verify digital signature authenticity.
For security reasons, Lantstool dropdown menu displays only public key, while signing process occurs directly on your device. Lantstool uses private key only for local digital signature generation, which then transferred to network with transaction. Secret key data never transferred to blockchain and never leaves local storage (Keys).
Two types of access keys exist in NEAR Protocol:
- Full Access Key: Grants full control over account. Allows signing transactions with any actions, including account deletion or adding new keys.
- Function Call Key: Limited key. Allows signing only Function Call actions for specific smart contract. Cannot be used for other actions (e.g., Transfer).
In Signer Key field, you can choose public key from list of added ones or import new one:
- Open dropdown menu in Signer Key field.
- Click
Import key. - In modal window choose method:
- Seed Phrase: Enter mnemonic phrase (12 words) and derivation path (default
m/44'/397'/0'). - Private Key: Enter private key (must start with
ed25519).
Lantstool automatically filters available keys. Dropdown list shows only keys belonging to selected Signer Id. This prevents signing errors with mismatched keys.
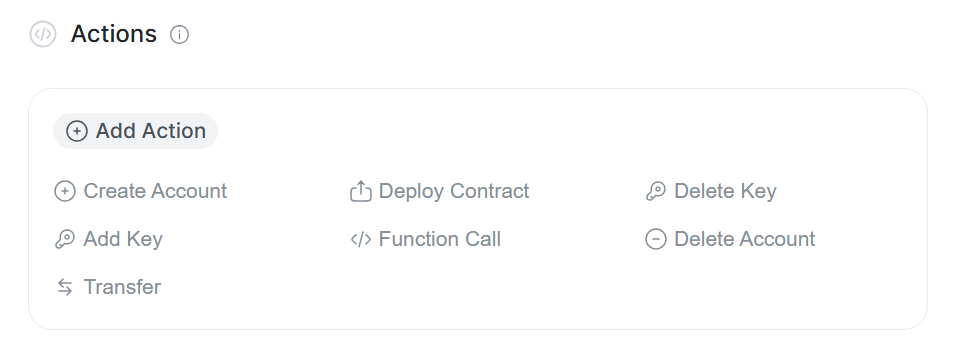
Actions
Actions — actions transaction consists of. Lantstool allows adding and combining up to 100 actions within one transaction.
This enables creating complex transactions and sending them with single signature. For example, you can create account, transfer funds, add key, and deploy contract — all in one transaction.
Currently, 7 actions supported: Create Account, Add Key, Transfer, Deploy Contract, Function Call, Delete Key, and Delete Account.
Execution logic:
- Actions executed strictly in order (top to bottom). Order critical.
- If any action in list fails, no subsequent actions will be executed.
Restrictions
When composing action list, remember NEAR Protocol rules. Lantstool automatically restricts interface to prevent incorrect transaction creation:
- Create Account: Must be first in list. Button disabled if other actions already in list.
- Delete Account: Must be last. After addition, ability to add new actions disappears.
Create Account
Used for subaccount creation.

Example: If Signer Id —
lantstool.testnet, and you entereddev, final address will bedev.lantstool.testnet.
- Sub Account Id: Specify prefix. System automatically adds Signer Id suffix.
- Receiver Logic: Upon adding this action, Receiver Id field automatically blocked and synchronized with Sub Account Id field. This ensures all subsequent actions in transaction performed on newly created account.
After creation, subaccount becomes fully independent. Signer loses control over it (e.g., deleting it) unless adding access key during creation.
Create Account according to protocol must be first; button for adding this Action becomes inactive if other actions already present in list.
Transfer
Used for transferring funds from Signer Id balance to Receiver Id account.
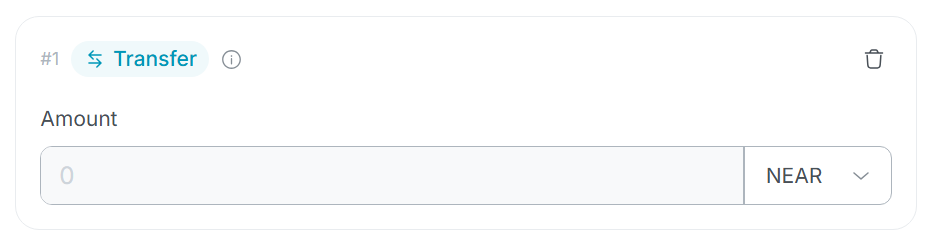
- Amount: Specify number of tokens to send.
- Unit: Choose measurement unit. NEAR and yoctoNEAR available.
Add Key
Adds new access key to Receiver Id account.
- New Public Key: Choose saved public key or generate new pair in Utils -> Key Generator.
- Permission: Choose access level for this key. NEAR Protocol defines two permission types:
A. Full Access
Grants full control over account. Such key allows performing any actions. No additional settings required.

B. Function Call
Limited key that can only call methods of specific smart contract.
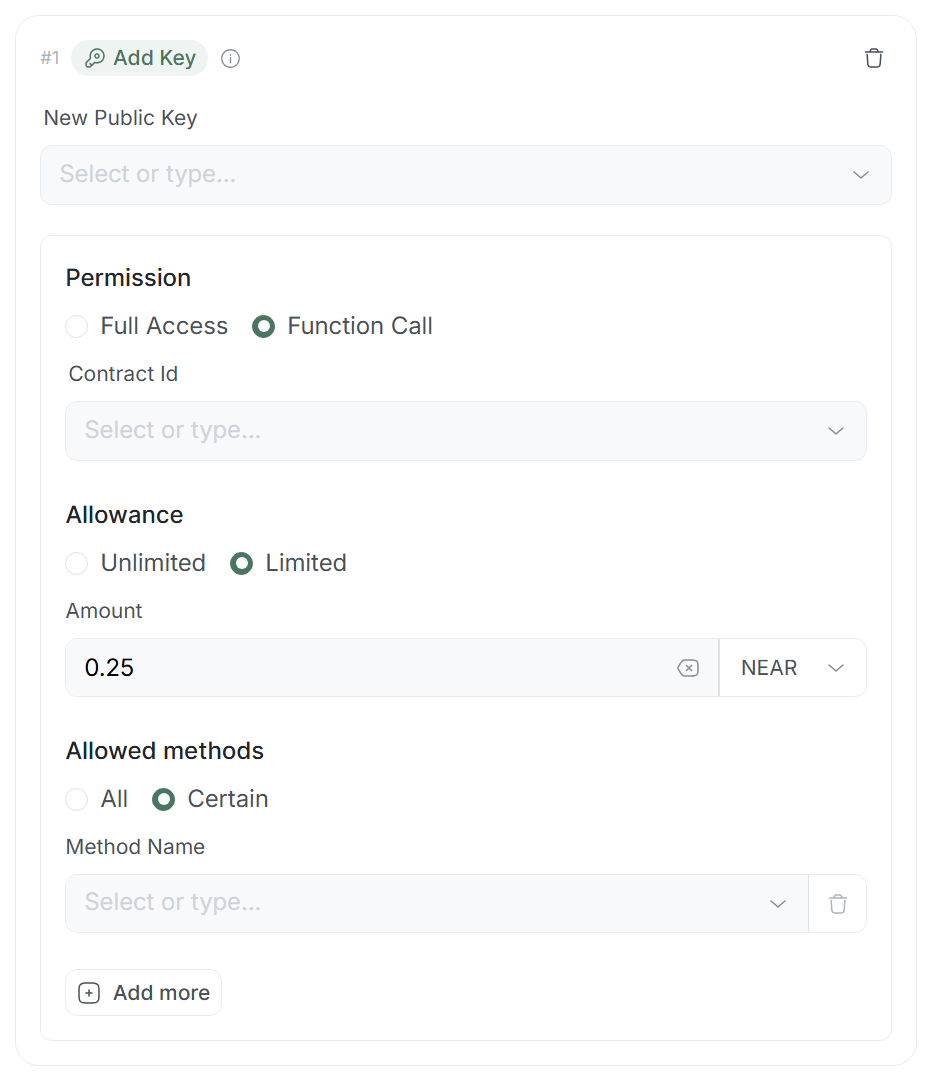
- Contract Id: Contract account to which key linked.
- Allowance: Gas spending limit (
UnlimitedorLimitedwith amount selection in NEAR or yoctoNEAR). - Allowed Methods: Choose
Allfor full contract method access orCertainfor selective. - Method Name: Field for adding methods (available for Certain). Automatically pulls available contract methods into dropdown and filters added ones to avoid duplicates.
Delete Key
Deletes access key from account.
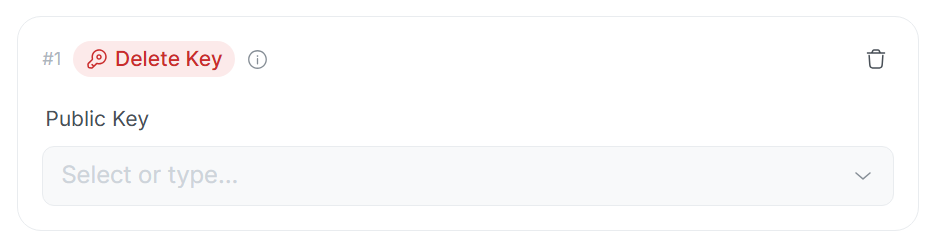
- Select Key: Choose public key to delete. Lantstool automatically requests blockchain for specified Receiver Id and forms up-to-date list of all existing keys.
Keys in list separated into two groups: Full Access and Function Call. This helps quickly identify key being deleted.
If you delete last Full Access Key, control over account lost forever.
Deploy Contract
Deploys smart contract on account.
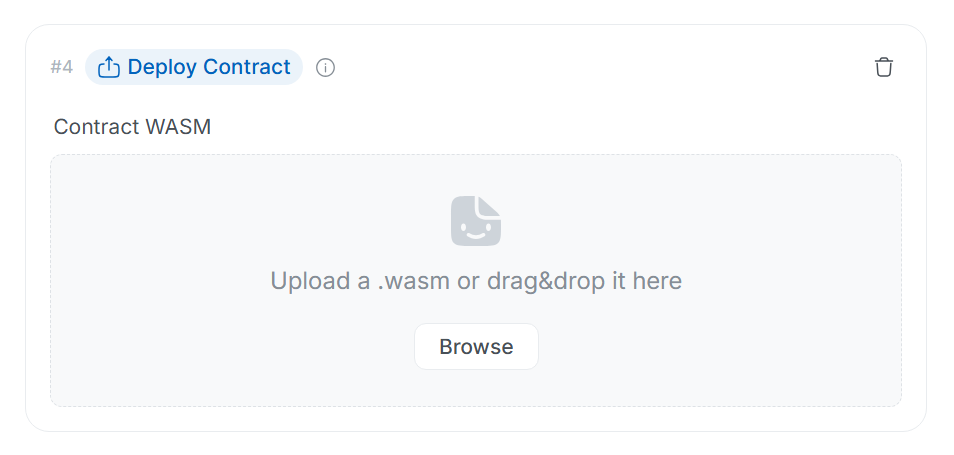
- File: Upload file manually or drag it to designated area. File must be in .wasm format.
- Limits: File size restricted by NEAR protocol.
Lantstool remembers uploaded file. If next step is Function Call addition,
system automatically pulls method list from this contract and generates arguments (detailed in Function Call).
Function Call
Calls smart contract methods.

- Contract Id: Contract address. Changing this field updates Receiver Id for entire transaction and synchronizes with all
Function Callin list, as transaction can be directed to only one contract. - Method: Choose method from list. Interface adapts depending on ABI availability:
- With ABI: Only write methods displayed, including type (
Private,Payable,Init). - Without ABI: All methods displayed (read and write).
- With ABI: Only write methods displayed, including type (
- Arguments: JSON5 code editor for entering call parameters. Interface adapts depending on ABI availability:
- With ABI: Automatically generates argument structure based on ABI.
- Without ABI: Works as JSON5 code editor without automatic argument generation.
Example: For NFT method
new, editor immediately created structure:{ owner_id: "string", metadata: { name: "string", spec: "string", symbol: "string", /* Optional */ base_uri: "string", /* Optional */ icon: "string", /* Optional */ reference: "string", /* Optional */ reference_hash: ["integer"], }, }
- Gas: Specify gas limit (Gas or TGas). Maximum allowed by protocol — 300 TGas.
- Deposit: Specify token amount (if method
Payable).
For smart contract read methods, use Calls section to avoid Gas spending.
Delete Account
Action responsible for deleting account from blockchain.
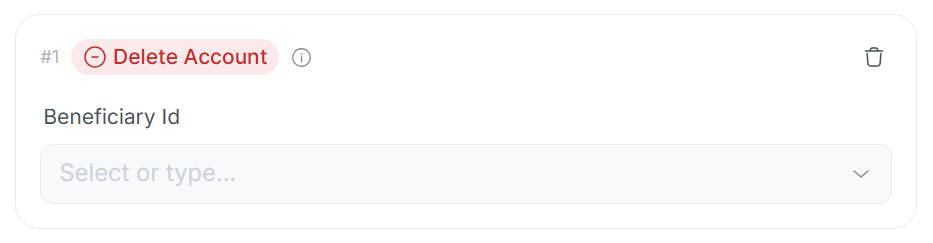
- Beneficiary Id: Choose account where entire remaining balance will be automatically transferred after deletion. If beneficiary non-existent, funds distributed among network validators.
Action irreversible. Account and all its data deleted from network.
According to protocol, this always last action in transaction. After selection, panel for adding new actions disappears.
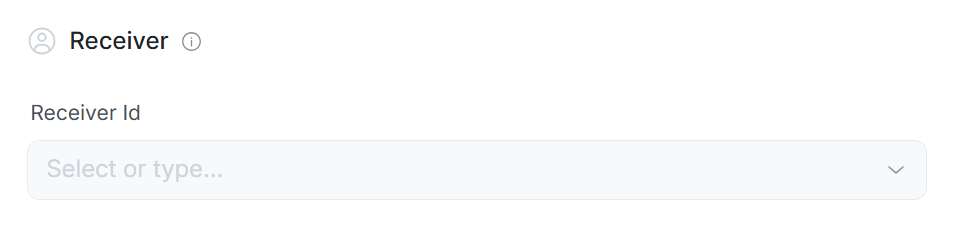
Receiver Id
Receiver Id (Recipient) field in Lantstool has built-in synchronization system. If you add several different actions to one transaction, system determines recipient according to following hierarchy:
Synchronization hierarchy
Lantstool automatically sets Receiver Id value by checking action presence in following order:
-
Priority №1:
Create AccountIf this action in list, it has absolute priority. Field blocked, and Receiver Id always equals[Sub Account Id].[Signer Id]. All other actions automatically directed to this new subaccount. -
Priority №2: Administrative actions (
Add/Delete Key,Deploy,Delete Account) IfCreate Accountabsent but at least one of these actions present, system assumes you work with own account. Receiver Id automatically equals Signer Id. -
Priority №3:
Function CallIf no administrative actions mentioned above in list, Receiver Id synchronized with Contract Id field insideFunction Call.
Such structure ensures you don’t accidentally send transaction to different addresses (forbidden by NEAR protocol). Lantstool monitors that transaction recipient logically consistent with your action set.
Result
After clicking Send button, Lantstool signs transaction and sends it to network. You will be automatically redirected to Result page with full execution report.
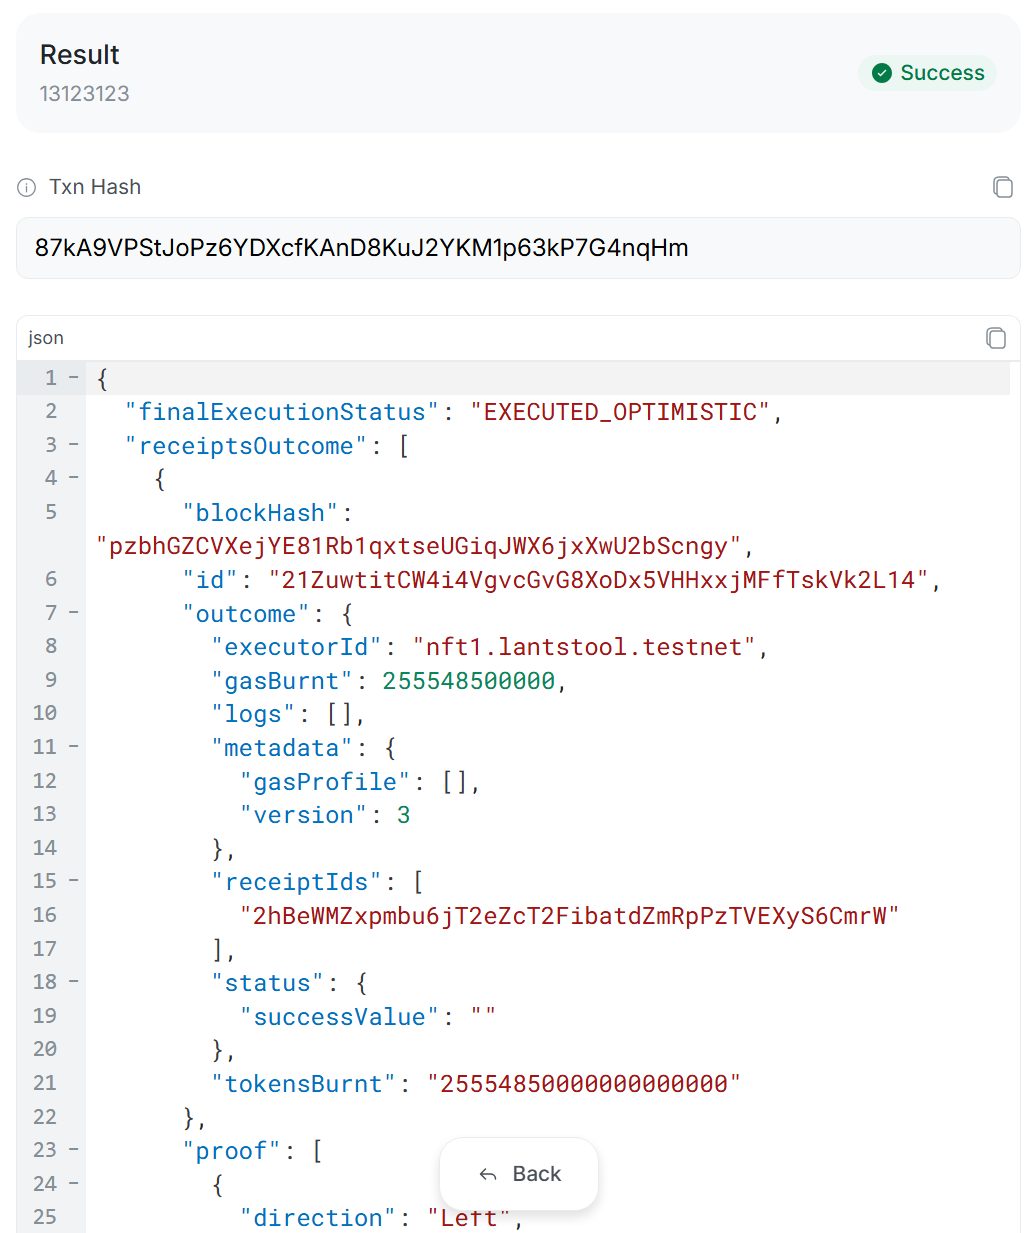
- Result Name: Displays
[Your Transaction Name]. - Status Badge: Transaction status indicator:
- Success: Transaction successfully executed.
- Error: Error occurred (e.g., lack of gas).
- Txn Hash: Unique transaction hash in NEAR network.
- JSON: Full response code in JSON format. Here you can view execution details of each action, contract logs, and gas spent.
➡️ What’s next?
- Key Generator: Creating new key pair before using in
Add Key. - Reset History: Clearing navigation history in Lantstool.